Hot Water, Done Right in the Rio Grande Valley
Water Heater Installation & Replacement
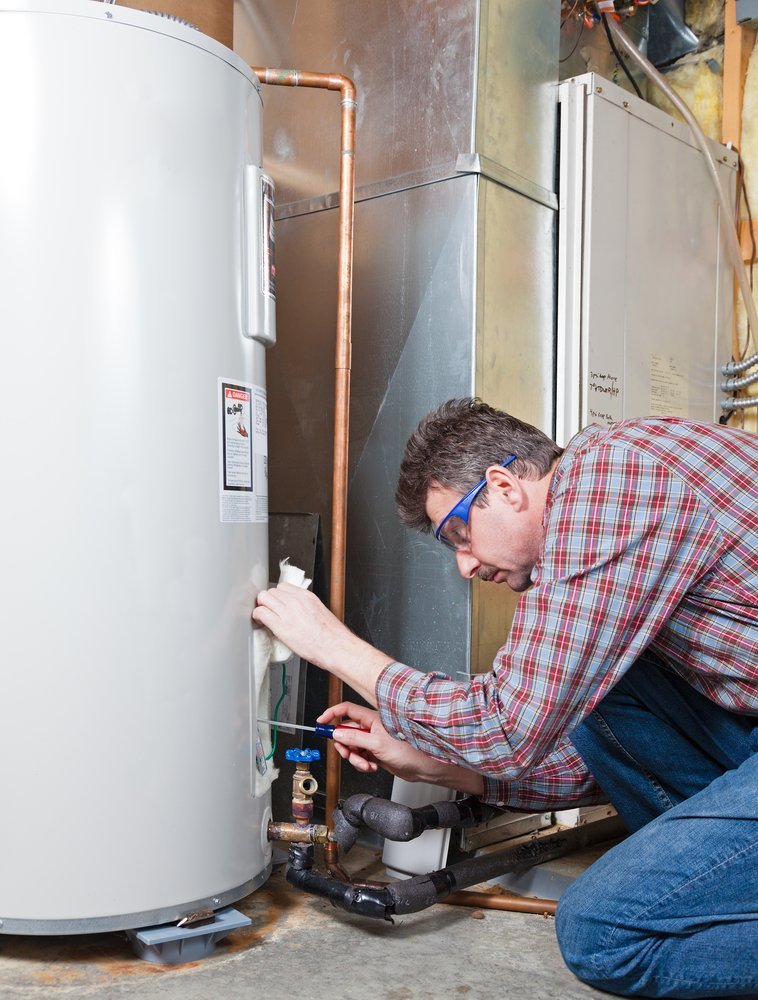
When it’s time for a new water heater—whether you’re upgrading for efficiency, replacing a failing unit, or switching to tankless—Treviño Repairs sizes and installs the right system for your property. We verify capacity, fuel type, venting, placement, and code requirements (including pan/drain line and expansion tank when required), then provide clear options and pricing. On install day, we protect the space, remove and haul away the old unit, make clean, code-compliant connections, set temperature, purge and test for proper operation and leaks, and leave a neat finish for your home or business.

Services for Water Heater Installation & Replacement
Treviño Repairs installs and replaces standard tank and tankless systems, sized correctly and set up to meet code. We verify capacity, venting, placement, and utilities first, then complete a clean, reliable install and startup for your home or business.
We install & replace:
- Gas tank water heaters — atmospheric, power/direct vent (common 30–75 gal)
- Electric tank water heaters — standard & lowboy profiles (30–80 gal)
- Tankless gas — condensing or non-condensing, single or paired units
- Hybrid heat-pump (electric) — high-efficiency upgrades
- Point-of-use/under-sink heaters (as needed)
- Light commercial models
Code items & setup (as applicable):
- Drip pan and drain line
- Thermal expansion tank when required
- T&P relief valve and proper discharge
- Gas shutoff, sediment trap, and flex connector (for gas)
- Electrical whip/disconnect (where applicable)
- Venting upgrades (B-vent/PVC) and condensate handling for condensing units
Upgrades & options:
- Recirculation pump/loop or demand-recirc kits
- Leak sensor and auto-shutoff valves
- Thermostatic mixing valve (anti-scald / more usable hot water)
- Smart controllers and app monitoring (where supported)
Tank vs. Tankless: Which Water Heater Fits You?
Tank (storage) units are budget-friendly and straightforward to replace. They provide a set volume of hot water with predictable performance, making them a solid choice for simultaneous use (showers + laundry). Tradeoffs include a larger footprint and standby heat loss, so efficiency depends on insulation and proper sizing.
Tankless (on-demand) systems heat water as you use it, delivering continuous hot water when correctly sized. They save space and can improve efficiency; however, they typically have a higher upfront cost and may require venting, gas-line, or electrical adjustments. In homes with long pipe runs, a recirculation option can improve wait times. Treviño Repairs will size the system to your fixtures, usage, and incoming water temperature, then recommend the right setup for your property.
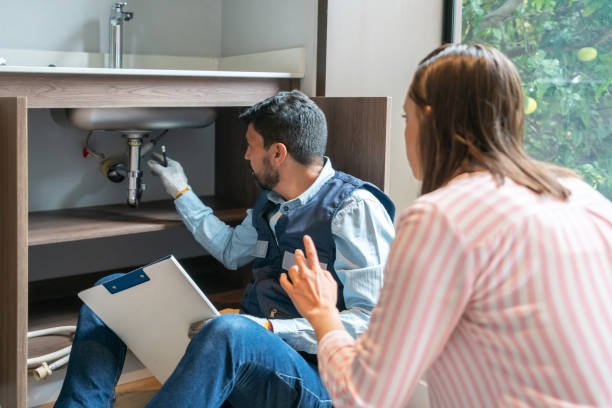
When to Replace or Upgrade Your Water Heater
If you’re noticing inconsistent or lukewarm water, long reheat times, rusty or discolored water, popping/rumbling sounds, moisture around the base, rising energy bills, or frequent pilot/error resets (for tankless), your water heater may be nearing the end of its service life (tanks often around 8–12 years, depending on use and water quality). Treviño Repairs can assess capacity, venting, and code items, then outline clear repair-versus-replace options for your home or business. When needed, we’ll recommend upgrades like expansion tanks, mixing valves, or recirculation to improve safety, comfort, and efficiency.
What to Expect with Treviño Repairs
Our Water Heater Installation Process
We keep it code-compliant, clean, and efficient so your lines protect your home or business.
Assess & Size. Confirm fuel type, capacity needs, location/clearances, venting, electrical/gas supply, drain pan route, and code items.
Protect & Prep. Shoe covers, drop cloths, safe shutoffs, drain-down, and workspace protection.
Remove & Inspect. Disconnect utilities, remove the old unit, inspect connections, pan, valve, and platform; haul-away included.
Set, Level & Secure. Place the new heater, level and secure per manufacturer guidelines; add pan and drain line as required.
Connect & Code Items. Reconnect water, gas/electric, and venting; install T&P discharge and thermal expansion tank when required; add sediment trap for gas.
Start-Up & Test. Purge air, fill and bleed lines, set temperature, check for leaks, verify combustion/draft on gas or power on electric/tankless, and confirm proper operation.
Clean Up & Walkthrough. Tidy the area, review settings and maintenance tips (anode, flushing, recirculation options), and provide before/after photos or documentation as needed.
Real Stories. Real Results.
What Our Customers Are Saying
Water Heater and Installation and Replacement Questions, Answered
Straightforward answers before you book—symptoms, costs, fixes.
What size and type do I need—tank or tankless?
We size your system based on fixture count, simultaneous use (showers + laundry), and incoming water temperature. Tanks are budget-friendly and straightforward; tankless saves space and can provide continuous hot water when correctly sized. We’ll recommend the best fit for your home or business in the RGV.
Will I need venting, gas, or electrical upgrades?
Possibly. We verify vent path and materials, gas line capacity (BTU demand), and electrical circuit/breaker requirements. If upgrades are needed for safe, code-compliant installation, we’ll outline them clearly before work begins.
Do I need an expansion tank or other code items?
An expansion tank is required when local code and system conditions call for it (e.g., closed systems, high static pressure). We test pressure, review local requirements, and install necessary components like drip pan/drain, T&P discharge, and sediment trap (for gas).
How long does installation take?
Timeline depends on depth, length, access, and permitting. Many spot repairs are completed the same day, while larger replacements can take longer. We provide a clear plan and schedule after the on-site assessment.
What maintenance should I plan for?
For tanks: annual flush (water-quality dependent) and anode inspection around 3–5 years. For tankless: periodic descaling and inlet filter cleaning. Keep the setpoint around 120°F for safety and efficiency; we’ll review simple upkeep during your walkthrough.